There’s nothing quite like making something from scratch for your dog—especially when it’s a treat that’s both healthy and functional. These Apple Cranberry Dog Dental Sticks are one of my favorite homemade treats to whip up when I want to show our pup some extra love. They’re chewy enough to help naturally clean teeth and gums, and they have a sweet-tart flavor that most dogs really enjoy.
The combo of apple and cranberry not only smells delicious while baking, but it also adds natural antioxidants and fiber. With no added sugar, preservatives, or mystery ingredients, these dental sticks are a wholesome alternative to store-bought options. If you have kids at home, this recipe is perfect for a little baking activity. Measuring, mixing, and shaping are simple enough that even young helpers can join in—and of course, giving the dog a taste test is the best part.
They’re easy to make, store beautifully, and you can freeze a batch for later. So let’s roll up our sleeves and get started!
What You’ll Need
- 1 medium apple, peeled and finely grated
- ⅓ cup dried cranberries (unsweetened), finely chopped
- 2 ½ cups oat flour (or finely ground oats)
- 1 egg
- 1 tablespoon coconut oil, melted
- 1–2 tablespoons water, as needed
Pro Tips
- Chop cranberries finely to ensure even texture and prevent any large chunks that might be tough for smaller dogs.
- Grate the apple last to prevent browning—have the rest of the ingredients ready first.
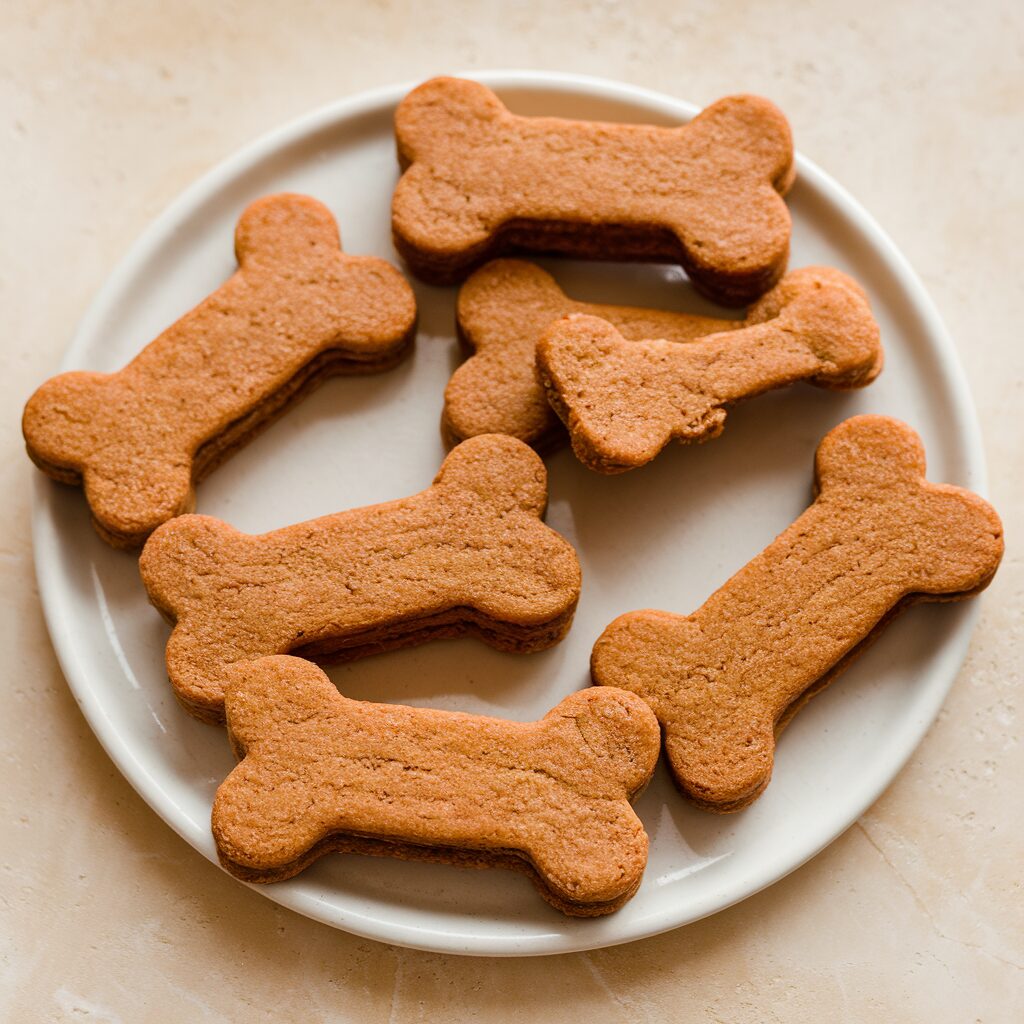
- Use a bone-shaped mold or cookie cutter to give these dental sticks a fun shape, or roll them into logs for a classic stick look.
- Cool completely before serving—the texture firms up as they cool, making them more effective for gentle chewing.
- Avoid added sugars or sweetened cranberries, which aren’t safe for dogs. Always choose unsweetened, natural dried cranberries.
Tools Required
- Box grater
- Measuring cups and spoons
- Medium mixing bowl
- Rubber spatula
- Knife and cutting board
- Baking sheet
- Parchment paper
Substitutions and Variations
- Flour substitute: Whole wheat flour or rice flour can be used instead of oat flour.
- Fruit swap: Try pear in place of apple for a softer flavor.
- Herbal boost: Add a small pinch of dried parsley for breath-freshening properties.
- Shape options: Use cookie cutters for shaped treats or mold by hand for a rustic look.
Make Ahead Tips
You can make the dough up to 24 hours in advance and store it wrapped in the refrigerator. Baked sticks also freeze well—just cool them completely, then store in a zip-top freezer bag for up to 3 months.
Instructions
1. Preheat the oven
Preheat your oven to 325°F (165°C) and line a baking sheet with parchment paper.
2. Prepare the fruit
Peel and finely grate the apple, and finely chop the dried cranberries. Set aside.
3. Mix the dough
In a medium mixing bowl, combine oat flour, grated apple, chopped cranberries, egg, melted coconut oil, and 1 tablespoon of water. Stir until a thick dough forms. Add a little more water if needed.
4. Shape the sticks
Scoop small portions of dough and roll them into logs about 4 inches long and ½ inch thick, or press into a bone-shaped silicone mold. Place on the prepared baking sheet.
5. Bake
Bake for 30–35 minutes, flipping once halfway through, until golden and dry to the touch. Longer baking time will create a firmer, chewier texture.
6. Cool completely
Remove from the oven and let cool fully on a wire rack. Store once completely cool.
Leftovers and Storage
Once cooled, store in an airtight container at room temperature for up to 5 days. For longer storage, refrigerate for up to 2 weeks or freeze for up to 3 months. Always allow frozen sticks to come to room temperature before giving to your dog.
Conclusion
These Apple Cranberry Dog Dental Sticks are such a thoughtful, easy treat to make for your dog. They’re filled with ingredients you can feel good about and give your dog a satisfying chew that supports their dental health. You can customize the size or texture based on your dog’s needs, and they make a lovely homemade gift for the other dog parents in your life, too.
If you try this recipe, I’d love to hear how your pup liked them! Feel free to leave a comment below with your experience or any questions.


