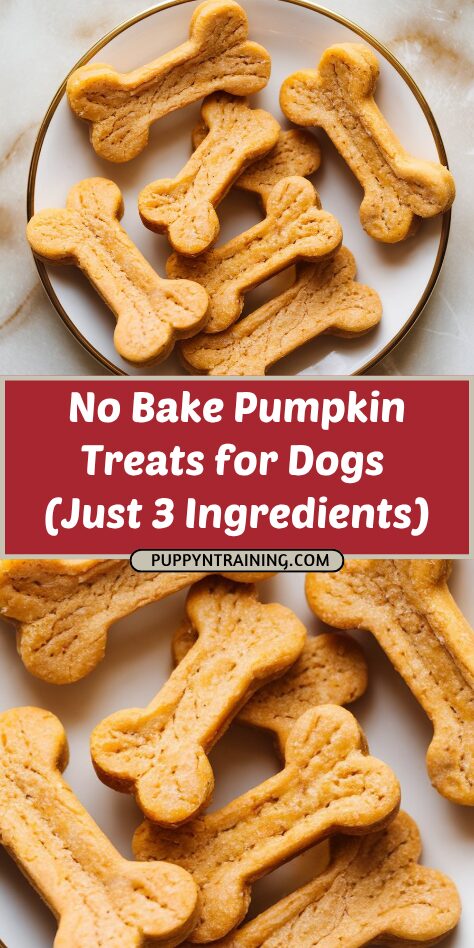
Wholesome, Homemade, and Ready in Minutes. If you’re looking for a simple, healthy, and homemade dog treat that doesn’t require baking or a lot of prep time, this Easy Pumpkin No-Bake Dog Treat recipe is exactly what you need.
With only three clean ingredients, you can whip up a batch of soft, chewy bites that are perfect for training, rewarding, or simply treating your pup to something special.
These treats are naturally grain-free, made without any preservatives, added sugars, or fillers, and they come together in just a few minutes. The base of the recipe is pumpkin—one of the most dog-friendly ingredients around. Pumpkin is packed with fiber, vitamins A, C, and E, and it’s especially good for digestion.
It can help with both constipation and diarrhea, making it a great everyday ingredient for dogs with sensitive stomachs.
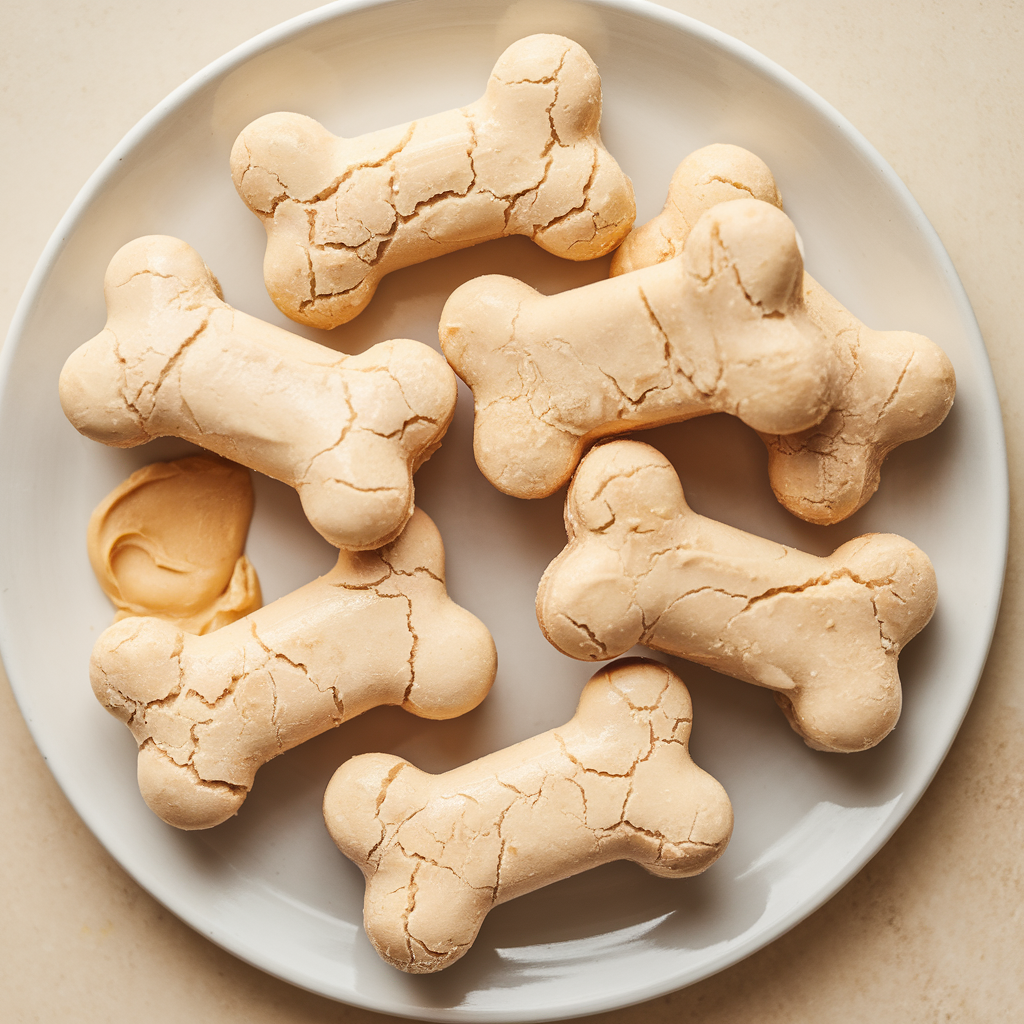
Combined with creamy peanut butter and nutrient-rich coconut flour, this recipe delivers a treat that’s firm enough to roll into bites but soft enough for dogs of all sizes to enjoy. Whether you’re just beginning to explore homemade treats or you’re an experienced dog food DIYer, this no-bake recipe is a staple you’ll want to keep in rotation.
What You’ll Need
- ½ cup natural, unsweetened peanut butter (xylitol-free)
- 1 cup canned pumpkin (plain, not pie filling)
- 2 cups coconut flour
Pro Tips
- Use xylitol-free peanut butter—this is critical, as xylitol is toxic to dogs even in small amounts. Always check the label.
- Start with less flour and add more as needed to reach the right dough consistency. Coconut flour is very absorbent.
- Chill dough for easier shaping if it’s a little sticky when you first mix it.
- Roll into small bites for training treats, or press into silicone molds for cute shapes.
- Store in fridge or freezer to keep the treats fresh and firm.
Tools Required
- Medium mixing bowl
- Measuring cups and spoons
- Spoon or spatula for mixing
- Silicone mold or baking sheet (for shaping)
- Airtight container for storing
Substitutions and Variations
- Flour alternatives: If you don’t have coconut flour, you can substitute with oat flour or ground rolled oats. Just adjust the amount—coconut flour is more absorbent than others.
- Flavor add-ins: Add a pinch of cinnamon or turmeric for an extra boost.
- Peanut butter alternative: Use almond butter or sunflower seed butter (unsweetened and xylitol-free) if your dog has a peanut allergy.
- Texture variation: Roll finished bites in crushed oats or finely shredded coconut for a fun texture.

Make Ahead Tips
This dough holds up well in the fridge before shaping. You can prepare the mixture and refrigerate it for up to 2 days before rolling and forming the treats. After shaping, the treats can be stored in the fridge or freezer for longer shelf life.
Instructions
1. Mix wet ingredients
In a medium mixing bowl, stir together the canned pumpkin and peanut butter until fully combined and smooth.
2. Add coconut flour
Gradually add the coconut flour to the wet ingredients, stirring as you go. Mix until a thick, moldable dough forms. If the dough is too dry, add a little more pumpkin. If it’s too wet, add a bit more flour.
3. Shape the treats
Scoop out small portions and roll into balls or press into silicone molds. If using a baking sheet, line with parchment paper and space the treats slightly apart.
4. Chill to set
Place the shaped treats in the refrigerator for at least one hour to firm up. Once chilled, they’re ready to serve or store.
Leftovers and Storage
Store the finished treats in an airtight container in the refrigerator for up to 10 days. For longer storage, freeze the treats in a single layer, then transfer to a freezer-safe bag or container. They’ll keep in the freezer for up to 3 months. Let frozen treats sit at room temperature for a few minutes before serving.
Conclusion
These Easy Pumpkin No-Bake Dog Treats are the perfect solution for pet parents who want a quick, nutritious, and satisfying snack for their dogs without baking or complicated prep. With just three ingredients you likely already have in your kitchen, you can create a batch of treats that are full of fiber, healthy fats, and irresistible flavor.
Whether you’re new to homemade dog treats or looking for a go-to recipe for busy weeks, this one is sure to become a favorite. It’s easy to make, adaptable, and a hit with dogs of all ages and sizes. And let’s be honest—watching your pup enjoy something you made just for them is one of the best feelings in the world.
Have you tried this recipe for your pup? I’d love to hear how it turned out! Drop a comment with your dog’s reaction or any fun variations you tried. Let’s keep making treats that are simple, nourishing, and full of love—one tail wag at a time.